How to Make a Waterproof Bag | Step-by-Step
Are you tired of worrying about your belongings getting soaked in unexpected downpours or during outdoor activities? A waterproof bag can be the perfect solution to keep your items dry and protected. In this comprehensive guide, we will explore the process of How to Make a Waterproof Bag from scratch. Whether you’re a seasoned DIY enthusiast or a beginner, this step-by-step tutorial will equip you with the necessary knowledge and skills to create your own durable and waterproof bag. Let’s dive in!
Imagine being able to confidently face any weather condition or outdoor adventure without worrying about your belongings getting wet. A waterproof bag provides a reliable solution to keep your items safe and dry. Whether you’re hiking, camping, or simply braving a rainy day, a homemade waterproof bag can be a valuable addition to your gear. In this guide, we will explore the process of creating a waterproof bag step-by-step, allowing you to customize it to your needs and preferences.
Importance of Waterproof Bags | How to Make a Waterproof Bag
Waterproof bags serve a wide range of purposes and offer numerous benefits. They are not only essential for outdoor enthusiasts but also practical for everyday use. Let’s delve into the various applications and advantages of owning a waterproof bag.
Uses for Waterproof Bags
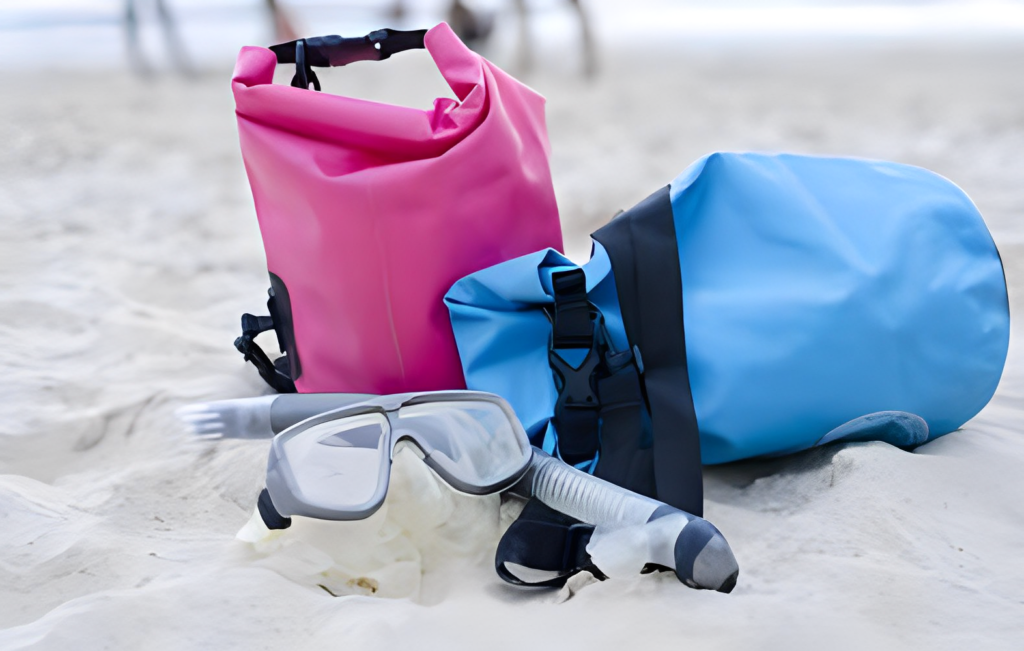
- Travel bags: Protect your belongings from unexpected spills or rain during your travels.
- Beach totes: Keep your towels, swimsuits, and other beach essentials dry and sand-free.
- Diaper bags: Ensure that your baby’s belongings stay dry and organized.
- Wet bags: Ideal for carrying wet clothes, towels, or swimwear without leaking onto other items.
- Camping or picnic bags: Safeguard your food, electronics, and other gear from moisture and dirt.
- Bike panniers: Shield your belongings from rain and splashes while cycling.
Choosing the Right Fabric
Selecting the appropriate fabric is crucial for creating a waterproof bag that effectively repels water and withstands various conditions. Let’s explore different types of fabrics and their suitability for waterproof bags.
Water-Repellent Fabrics
Water-repellent fabrics, such as SUPPLEX nylon, are designed to slow down water absorption rather than immediately penetrate the fabric. They are an excellent choice for linings or situations where heavy usage and spills are not anticipated.
Waterproof Outdoor Fabrics
Unlike water-repellent fabrics, waterproof outdoor fabrics have a coating on the wrong side of the fabric, creating a strong barrier against moisture. Coatings are typically made of vinyl, such as polyvinylchloride (PVC) or polyurethane (PU). CORDURA nylon is a popular brand known for its durability and true waterproof protection.
Read More: How to Make a Leather Bag
Laminated Fabrics
Laminated fabrics, such as oilcloth or waxed canvas, have a coating on the right side of the fabric, giving them a slick and shiny appearance. They are ideal for the outside of bags but may not be suitable for linings due to their tacky coating.
Cutting and Preparing the Materials
Before diving into the sewing process, it is essential to cut and prepare the materials for your waterproof bag. Here’s a breakdown of the steps involved:
Step 1: Measure and Mark
Start by measuring and marking the dimensions of the bag you wish to create. Take into consideration the desired size and shape, allowing for seam allowances and any additional features you want to incorporate.
Step 2: Cut the Fabric
Using a grease marking pencil or tailor-style fabric tape measure, carefully mark the cutting lines on the chosen fabric. For precise and clean cuts, consider using an electric hotknife or a rotary cutter with a self-healing cutting mat.
Step 3: Prepare the Layers
If your bag requires multiple layers, such as a waterproof layer or a middle layer for added durability, cut and assemble these layers according to your design.
Sewing Techniques and Tips
Sewing a waterproof bag may seem daunting, especially if you’re new to sewing or working with unconventional materials. However, with some basic sewing techniques and a few helpful tips, you’ll be well-equipped to tackle this project. Here are some key sewing techniques and tips to keep in mind:
Technique 1: Choosing the Right Thread
Select a bonded polyester outdoor thread that is resistant to UV, heat, abrasion, saltwater, and mildew. This thread will ensure the longevity and durability of your waterproof bag.
Technique 2: Using the Correct Needle
Use a needle suitable for your chosen fabric. For waterproof and water-repellent outdoor fabrics, a microtex/sharp needle in size 14 or 16 is recommended. For laminated fabrics, opt for a denim needle.
Technique 3: Pinning vs. Using Clips
Instead of traditional pins, consider using clips to hold fabric pieces together. Pins can create unnecessary holes in the fabric, compromising its waterproof properties. Clips, such as binder clips or bulldog clips, provide a secure hold without damaging the fabric.
Technique 4: Seam Sealing
To enhance the waterproofing of your bag, consider sealing the seams with single-sided Dyneema seam tape. This additional step will ensure that no moisture seeps through the seams, keeping your belongings dry even in heavy rain.
Designing Different Types of Waterproof Bags
Now that you have a grasp of the sewing techniques and tips, let’s explore the step-by-step process of creating three popular types of waterproof bags: the flat top-zipper case, the flat front-zipper case, and the duffel bag.
Flat Top-Zipper Case
The flat top-zipper case is a versatile bag suitable for various purposes, such as organizing pencils, cables, or even protecting important documents.
Step 1: Cut the Fabric
Measure and cut a piece of fabric that is as wide as your zipper and twice as long as you want your bag to be. Fold the fabric in half with the right sides together.
Step 2: Sew the Zipper
Using your sewing machine, sew the zipper to the wrong side of the fabric with the top side of the zipper facing the fabric. Ensure to backstitch at the beginning and end of the zipper.
Step 3: Repeat on the Opposite Side
Open the zipper halfway and repeat the previous step on the opposite side of the fabric. This will create a large circle with the zipper in the middle.
Step 4: Sew the Open Sides
Keeping the zipper open, fold the raw edges together, flattening the zipper. Sew along the open sides using a tight zig-zag stitch, ensuring to backstitch at the top and bottom.
Step 5: Finish the Edges
To prevent fraying, finish the edges of the bag with a serger or pinking shears.
Flat Front-Zipper Case
The flat front-zipper case offers easy access to your belongings and is suitable for documents, chunky gear, or as a waterproof sleeve for small laptops.
Step 1: Cut the Fabric
Measure and cut a piece of fabric that is wider than your zipper and twice as long as you want your bag to be.
Step 2: Sew the Zipper
Sew the zipper to the wrong side of the fabric with the top side of the zipper facing the fabric. Ensure to backstitch at the beginning and end of the zipper.
Step 3: Repeat on the Opposite Side
Repeat the previous step on the opposite side of the fabric. This will create a bag with a front zipper closure.
Step 4: Sew the Open Sides
Fold the fabric in half with the right sides together. Sew along the open sides, ensuring to backstitch at the top and bottom.
Step 5: Finish the Edges
To prevent fraying, finish the edges of the bag with a serger or pinking shears.
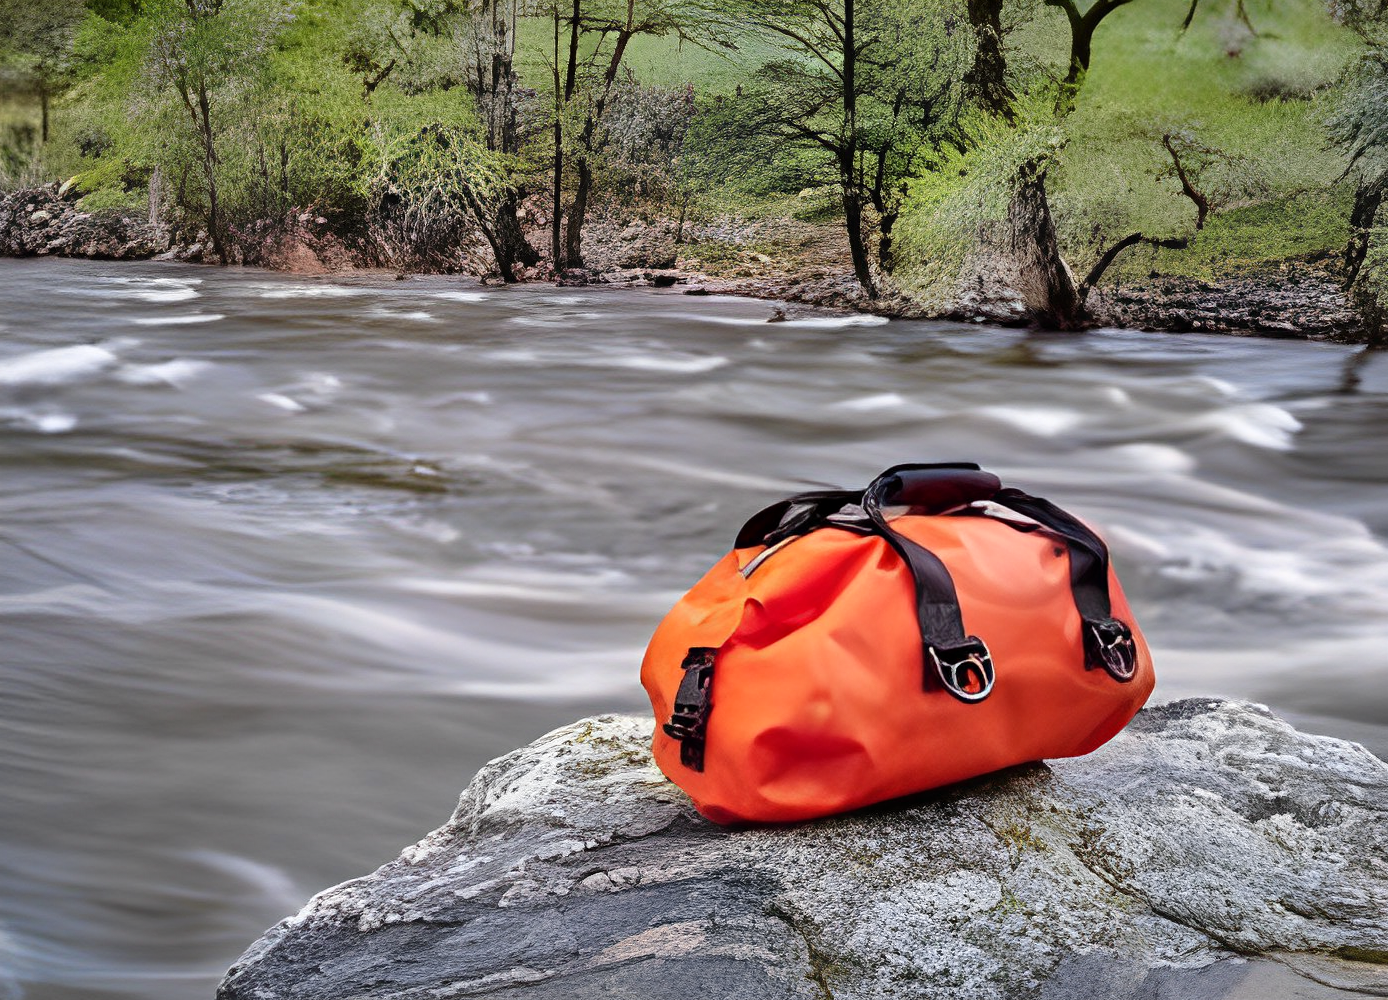
Duffel Bag
The duffel bag is perfect for carrying clothing, gear, or other essentials. Its larger size allows for ample storage while maintaining its waterproof properties.
Step 1: Cut the Fabric
Measure and cut two pieces of fabric that are as wide as your desired bag width and twice as long as your desired bag length.
Step 2: Sew the Zipper
Sew the zipper to the wrong side of one fabric piece, ensuring to backstitch at the beginning and end of the zipper.
Step 3: Attach the Waterproof Layer
Place the second fabric piece on top of the first, with the right sides together. Attach the waterproof layer, such as Tyvek, between the two fabric layers.
Step 4: Sew the Open Sides
Sew along the open sides, ensuring to backstitch at the top and bottom. Trim the seams and cut the points off the bottom corners.
Step 5: Finish the Edges
To prevent fraying, finish the edges of the bag with a serger or pinking shears.
Read More: How to Wear a KAVU Rope Bag?
Adding Extra Features and Accessories
To further customize your waterproof bag, consider adding extra features and accessories that suit your needs. Here are some suggestions:
Interior pockets: Incorporate pockets to help organize and separate smaller items within the bag.
Carabiner loops: Attach carabiner loops to the exterior of the bag for easy attachment to backpacks or other gear.
Adjustable straps: Add adjustable straps to make the bag more comfortable to carry and accommodate different body sizes.
Reflective accents: Sew on reflective accents to enhance visibility in low-light conditions or during nighttime activities.
Enhancing Waterproofing with Seam Sealer
While the materials used for your waterproof bag may offer excellent waterproof properties, sealing the seams can provide an additional layer of protection. Seam sealer helps prevent moisture from seeping through the stitched areas. Apply the seam sealer to the inside of the bag along the seams, following the manufacturer’s instructions.
Testing the Waterproof Bag
Before fully relying on your homemade waterproof bag, it’s essential to test its effectiveness. Fill the bag with some paper towels or other absorbent materials and submerge it in water or simulate rain conditions. After a specified period, carefully inspect the contents of the bag for any signs of moisture. If the bag successfully keeps the inner contents dry, you can confidently use it for your desired purposes.
Frequently Asked Questions
Can I use any type of fabric to make a waterproof bag?
How can I ensure that my waterproof bag is durable and long-lasting?
Can I machine wash my homemade waterproof bag?
Can I make a waterproof bag without a sewing machine?
Conclusion
Congratulations! You have now learned how to make a waterproof bag from scratch. By following the step-by-step guide and incorporating your creativity, you can customize your bag to suit your needs and style. Remember to choose the right fabric, employ proper sewing techniques, and test the bag’s waterproofing before relying on it in challenging conditions. With your new waterproof bag, you can confidently embark on outdoor adventures or face unpredictable weather without worrying about your belongings getting wet. Happy crafting!