How to Clean Leather Sandals That Got Wet: Steps & Tips
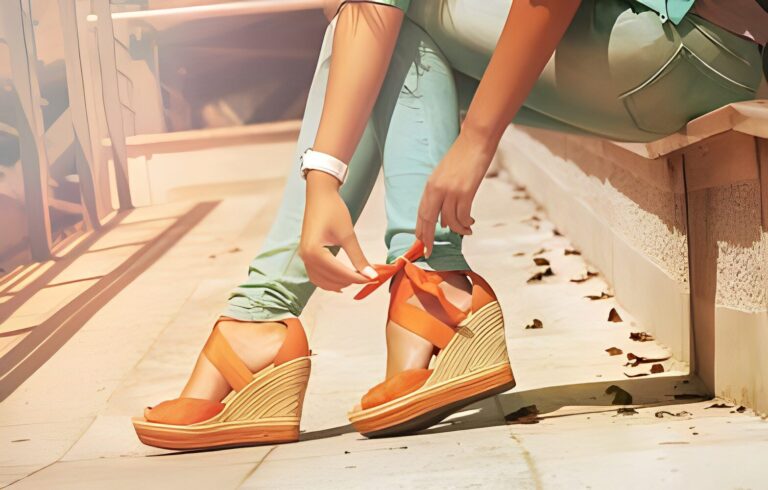
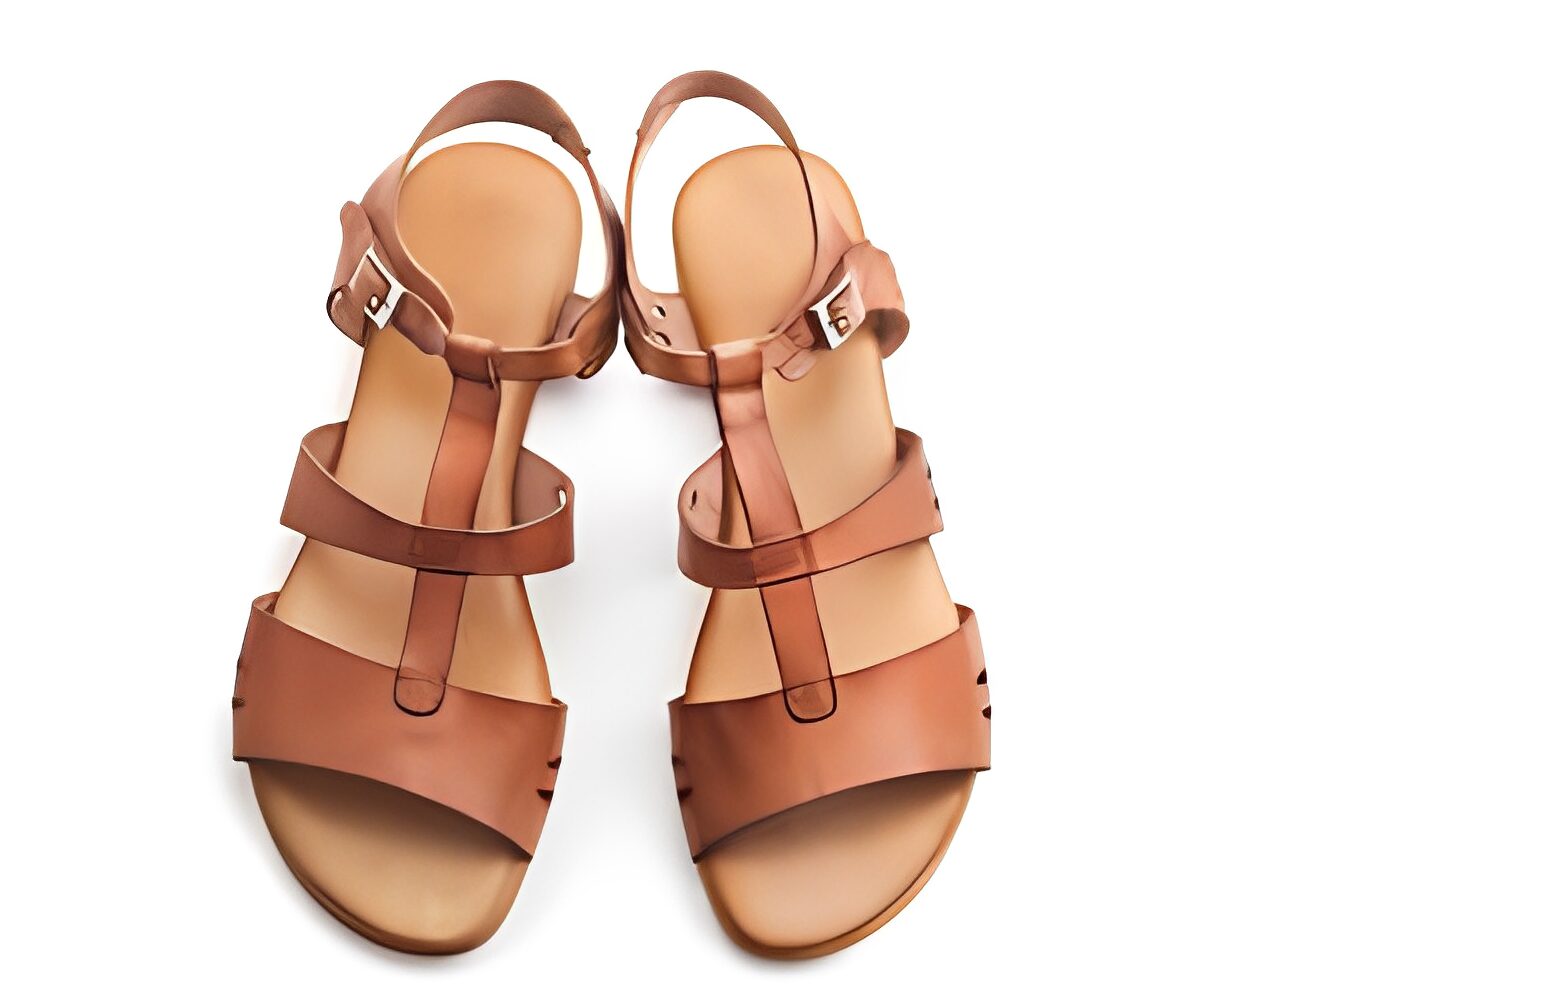
Leather sandals are not only comfortable but also stylish, making them a popular choice for footwear. However, How to Clean Leather Sandals That Got Wet. they are susceptible to getting wet, whether from unexpected rain or accidental spills. If your leather sandals have become soaked, it’s important to take immediate action to prevent any potential damage. In this comprehensive guide, we will provide you with step-by-step instructions on how to clean leather sandals that got wet, ensuring that they maintain their quality and appearance.
Part 1: Removing Excess Moisture and Debris
The first step in cleaning leather sandals that have gotten wet is to remove any excess moisture and debris. This helps prevent water stains and further damage to the leather. Here’s what you need to do:
Step 1: Towel Dry
Using a clean, dry towel, gently blot the sandals to remove as much water as possible. Avoid rubbing vigorously, as this can damage the leather. Instead, pat the surface gently to absorb the moisture.
Step 2: Remove Dirt and Debris
Inspect the sandals for any dirt, mud, or debris that may have accumulated on the surface. Use a soft cloth or brush to gently remove these particles. Be careful not to scratch or scrape the leather while doing so.
Step 3: Remove Laces and Insoles
If your leather sandals have laces, it’s best to remove them before proceeding with the cleaning process. This allows for better airflow and drying. Additionally, if the insoles of your sandals are removable, take them out to ensure thorough drying and prevent any unpleasant odors.
Part 2: Drying the Leather Sandals
After removing excess moisture and debris, it’s crucial to dry the leather sandals properly. Follow these steps to ensure effective drying without causing any damage:
Step 4: Air Dry at Room Temperature
Place the leather sandals in a well-ventilated area at room temperature. Avoid direct sunlight or heat sources, as they can dry out the leather too quickly, leading to cracking. Instead, let the sandals air dry naturally.
Step 5: Stuff with Newspaper
To speed up the drying process and prevent the leather from losing its shape, stuff the sandals with crumpled newspaper. The newspaper will absorb excess moisture and help maintain the sandals’ structure. Replace the damp newspaper with dry ones as needed until the sandals are completely dry.
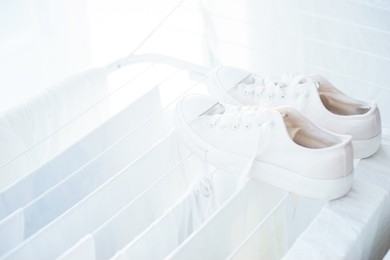
Step 6: Elevate the Sandals
While air drying, it’s essential to elevate the sandals to allow proper airflow. You can place them on a mesh shoe rack, lean them against a wall, or use shoe trees to keep them upright. This helps prevent moisture from accumulating and promotes even drying.
Related link; How to Clean Kids’ Shoes
Part 3: Cleaning and Conditioning the Leather Sandals
Once the leather sandals are completely dry, it’s time to clean and condition them to restore their original look and texture. Follow these steps:
Step 7: Clean the Leather
Start by gently wiping the surface of the sandals with a soft, dry cloth to remove any remaining dirt or residue. If there are stubborn stains, you can use a mild leather cleaner specifically designed for cleaning leather footwear. Apply the cleaner to a clean cloth and gently rub the affected areas in circular motions. Be sure to follow the manufacturer’s instructions for the specific cleaning product you are using.
Step 8: Condition the Leather
After cleaning, it’s important to condition the leather to keep it supple and prevent it from drying out. Apply a high-quality leather conditioner to a clean cloth and rub it evenly onto the sandals. Make sure to cover the entire surface, including the straps and edges. Allow the conditioner to penetrate the leather for the recommended time mentioned on the product packaging.
Step 9: Polish the Leather
To enhance the appearance of your leather sandals, you can use a leather polish or shoe cream. Apply a small amount of polish or cream to a clean cloth and gently rub it onto the leather, using circular motions. This will help restore the shine and smoothness of the leather. Remove any excess polish with a separate cloth.
Step 10: Allow the Sandals to Rest
After conditioning and polishing, it’s advisable to let the sandals rest for at least 30 minutes. This allows the leather to absorb the conditioner and polish fully. It also helps prevent any transfer of product onto your feet when you wear the sandals.
Part 4: Additional Tips for Leather Sandal Care
To maintain the quality and longevity of your leather sandals, here are some additional tips to keep in mind:
Tip 1: Avoid Excessive Water Exposure
Prevention is key when it comes to leather sandals. Try to avoid wearing them in heavy rain or situations where they are likely to get wet. If you anticipate wet conditions, consider applying a water-resistant spray specifically designed for leather footwear.
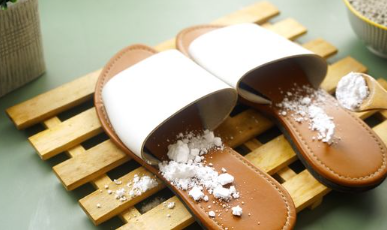
Tip 2: Store Properly
When not in use, store your leather sandals in a cool, dry place. Avoid keeping them in plastic bags or airtight containers, as this can trap moisture and lead to mold growth. Instead, use a breathable shoe bag or simply leave them exposed to air.
Tip 3: Regular Maintenance
Regularly clean and condition your leather sandals to keep them in optimal condition. This will help prevent dirt buildup and maintain the leather’s natural oils. Additionally, consider using a leather protector spray to provide an extra layer of protection against water and stains.
Read More: How to Tighten Hunter Boots
Tip 4: Seek Professional Help
If your leather sandals have severe stains or damage that cannot be resolved with DIY methods, it’s best to seek professional help. A reputable shoe repair shop can assess the situation and provide the necessary repairs or treatments to restore your sandals.
FAQs
Can I use a hairdryer to dry my leather sandals?
What should I do if my leather sandals develop mold?
Can I wear my leather sandals immediately after cleaning and conditioning?
How often should I clean and condition my leather sandals?
Conclusion
Cleaning leather sandals that have gotten wet requires a systematic approach to prevent any potential damage and maintain their quality. By following the step-by-step instructions outlined in this comprehensive guide, you can effectively clean and restore your leather sandals. Remember to remove excess moisture, air dry at room temperature, and use appropriate cleaning and conditioning products. With proper care, your leather sandals will continue to provide comfort and style for years to come.