How to Dye a Leather Bag | An In-Depth Guide
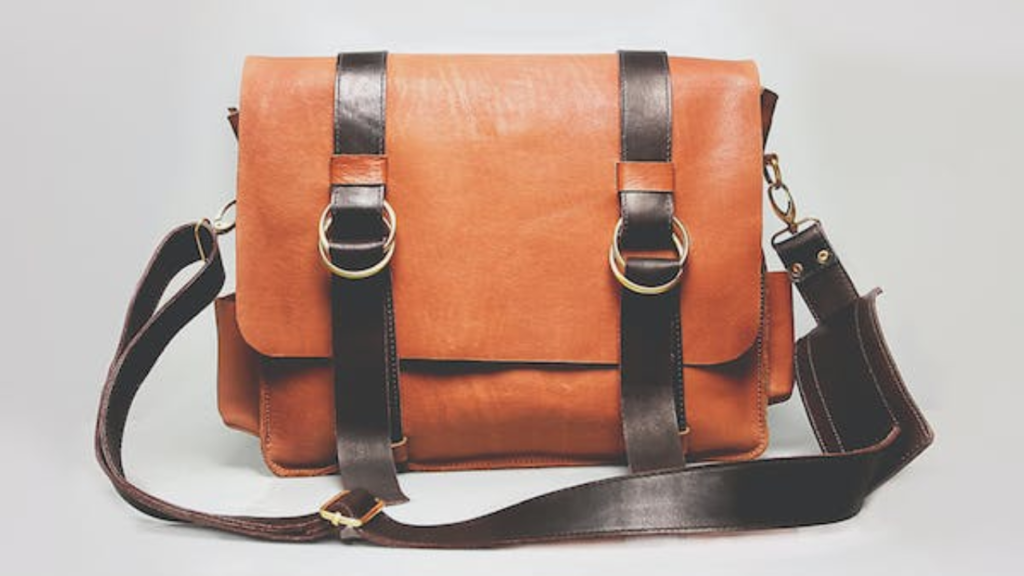
Are you looking to add a personal touch to your leather bag? Or maybe you want to revive an old leather bag with a fresh new color? Dyeing a leather bag is a great way to unleash your creativity and give your bag a unique look. In this comprehensive guide, we’ll walk you through the step-by-step process of dyeing a leather bag, from gathering the necessary supplies to finishing touches. So let’s dive in and learn how to dye a leather bag!
Leather Dyeing | How to Dye a Leather Bag
Dyeing leather is a popular technique that allows you to change the color of your leather bag. It offers a creative way to personalize your bag and make it stand out. Leather dyeing involves applying a specially formulated dye to the leather surface, which penetrates the material and creates a lasting color. It’s important to note that not all leather can be dyed, so make sure your bag is made of a dyeable type of leather before proceeding.
Gathering the Supplies
Before you start the dyeing process, it’s essential to gather all the necessary supplies. Here’s a list of items you’ll need:
- Leather dye (water-based or solvent-based)
- Leather preparer
- Cotton swabs or applicator brushes
- Gloves
- Newspaper or plastic sheets
- Soap and water
- Soft cloth or sponge
- Painter’s tape
- Leather finisher (carnauba wax or leather resolene)
- Clean cloth or paintbrush
Preparing the Leather Bag
Properly preparing the leather bag is crucial for achieving an even and long-lasting dye color. Start by cleaning the bag with a mild soap and water solution to remove any dirt or grime. Gently wipe the bag’s surface using a soft cloth or sponge. Pay attention to creases and crevices to ensure a thorough clean. Once cleaned, allow the bag to dry completely before proceeding to the next step.
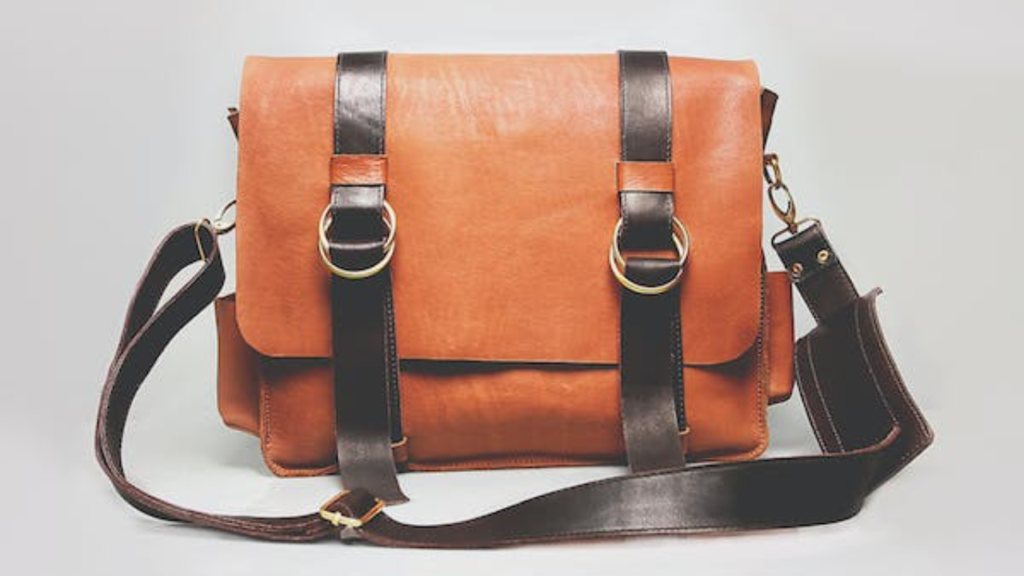
Choosing the Right Dye
Selecting the appropriate dye is essential for a successful dyeing process. Leather dyes are specifically formulated to adhere to the leather surface and provide vibrant, long-lasting colors. When choosing a dye, consider factors such as the desired color, type of leather, and the dye’s formulation (water-based or solvent-based). It’s recommended to test the dye on a small, inconspicuous area of the bag before applying it to the entire surface.
Applying the Dye
Before applying the dye, protect any hardware or metal accents on the bag by covering them with painter’s tape. This will prevent the dye from affecting the color of the metal. Apply the dye using cotton swabs or applicator brushes, ensuring even coverage. Work in small sections, using gentle and circular motions to penetrate the leather fibers. Take your time and be patient to achieve the desired color intensity.
Related; How to Make a Bag
Multiple Coats and Drying
To achieve a more vibrant and even color, multiple coats of dye may be needed. Allow each coat to dry completely before applying the next one. This will prevent smudging or uneven color distribution. Remember that the color of the dye may darken as it dries, so keep this in mind when applying subsequent coats. Patience is key during the drying process to ensure a flawless finish.
Conditioning and Finishing the Bag
After the final coat of dye has dried, it’s important to condition the leather to restore moisture and enhance its longevity. Apply a leather conditioner using a clean cloth or sponge, following the manufacturer’s instructions. Conditioning the leather will prevent it from drying out and cracking. Once the conditioner has been applied, allow the bag to dry before applying a leather finisher, such as carnauba wax or leather resolene, to seal the color and provide a protective layer.
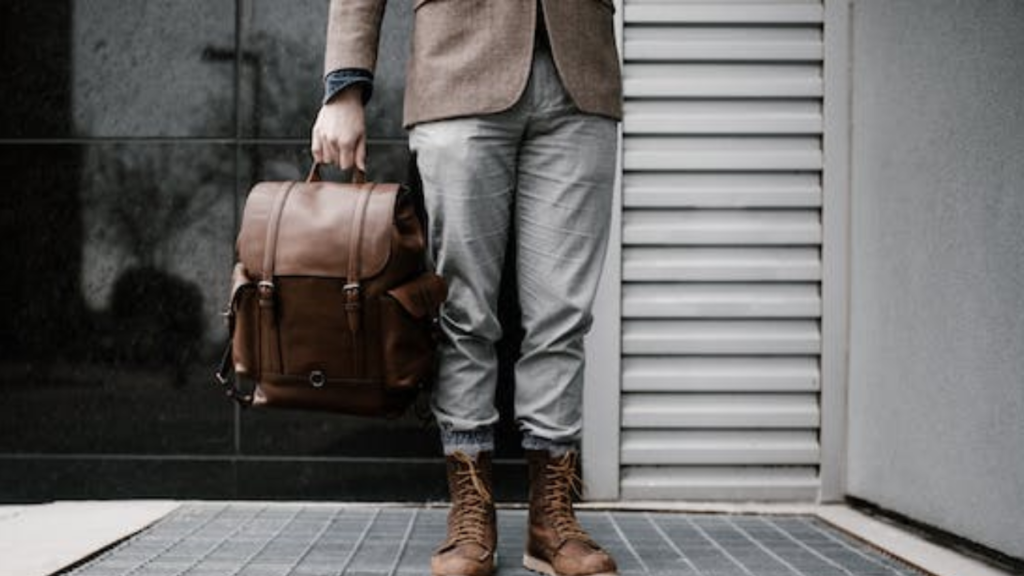
Protecting Hardware and Sealing the Color
Once the bag has been dyed and finished, remove the painter’s tape from any protected hardware. Inspect the bag for any areas that need touch-ups or additional dye application. If necessary, apply the dye with cotton swabs or brushes to ensure complete coverage. Finally, to protect the color and prevent it from fading or rubbing off, consider using a leather sealer or protector. Apply the sealer according to the manufacturer’s instructions for long-lasting color retention.
Troubleshooting Tips
Sometimes, unexpected issues may arise during the dyeing process. Here are some troubleshooting tips to help you navigate common challenges:
- Uneven color: If you notice uneven color distribution, you can try applying additional coats of dye or using a dye reducer to even out the color.
- Color transfer: To prevent the newly dyed bag from transferring color onto other items, apply a leather finisher and allow it to dry thoroughly.
- Color fading: Exposure to sunlight and harsh elements can cause color fading over time. To maintain the vibrancy of your dyed bag, avoid prolonged exposure to direct sunlight and use a leather conditioner regularly.
Frequently Asked Questions
Can I dye a suede leather bag?
How long does the dye last on a leather bag?
Can I change the color of my leather bag multiple times?
Can I dye a leather bag lighter than its original color?
Conclusion
Dyeing a leather bag is a rewarding and creative process that allows you to personalize your accessories and give them new life. By following the step-by-step guide outlined in this article, you’ll be well-equipped to dye your leather bag successfully. Remember to gather the necessary supplies, prepare the leather, choose the right dye, apply it evenly, and finish the bag with a protective sealant. With proper care, your dyed leather bag will showcase your unique style and last for years to come. So go ahead, unleash your creativity, and transform your leather bag into a one-of-a-kind masterpiece!

