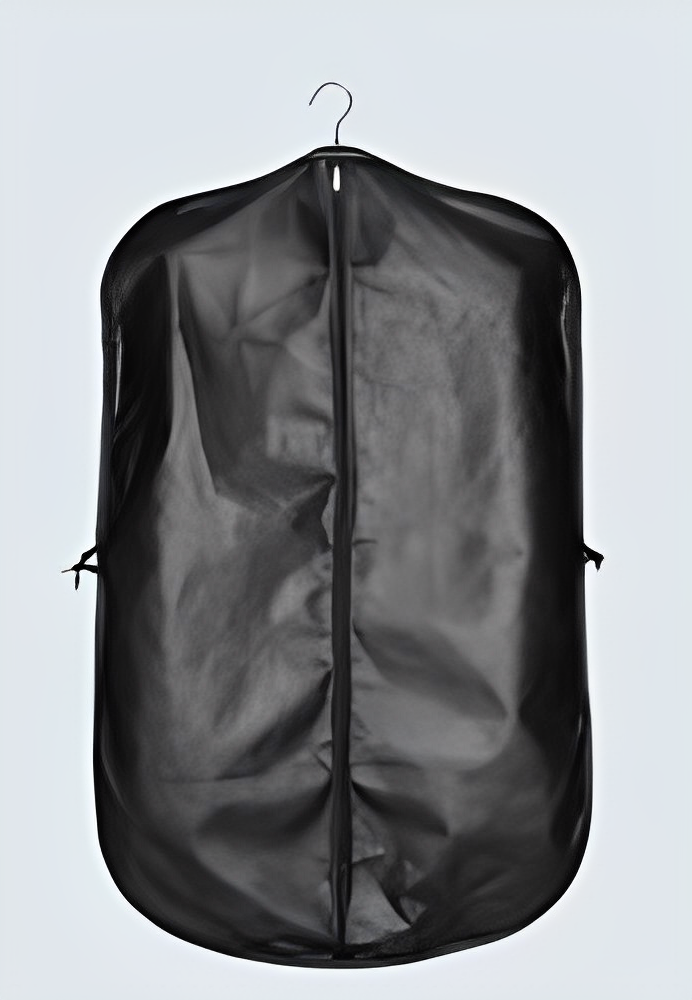
How to Make a Garment Bag | Pro Guide
Are you tired of your clothes getting wrinkled and damaged while traveling? Do you want a stylish and functional solution to keep your garments organized and protected? Look no further! In this comprehensive guide, we will show you how to make a garment bag from scratch. Whether you’re a seasoned DIY enthusiast or a beginner, this step-by-step tutorial will help you create a beautiful and practical garment bag that will become your travel companion.
We have gathered information from various reliable sources to provide you with the most accurate and detailed instructions. From choosing the right fabrics to sewing techniques and adding functional features, we will cover every aspect of making a garment bag. So, let’s dive in and get started on this exciting project!
When making a garment bag, selecting the right fabrics is crucial to ensure durability and functionality. There are various options available, but we recommend using pre-washed unbleached cotton muslin or a medium-weight cotton fabric. These fabrics are low-acid, breathable, and easy to work with.
Fabric Options to Make a Garment Bag
- Pre-washed unbleached cotton muslin: This fabric is an excellent choice for its low-acid properties and soft texture. It provides a gentle environment for your garments and helps prevent wrinkling.
- Medium-weight cotton fabric: If you prefer a sturdier garment bag, opt for a light-weight upholstery fabric or any decor fabric. These fabrics offer more structure and protection for your clothes.
Recommended Yardage
To make a standard-sized garment bag, you will need approximately 2 1/4 yards of fabric for both the interior and exterior of the bag. It’s always a good idea to have some extra fabric on hand, so we recommend buying 4 1/2 yards in total. However, if you’re confident in maximizing your fabric usage and won’t need additional fabric for a shoulder strap, you can stick to 4 yards.
Gathering the Necessary Notions
In addition to fabrics, you will need several notions to complete your garment bag. These include D-rings, clasps, Velcro, and zippers. Let’s take a closer look at each one:
D-rings and Clasps
D-rings and clasps are essential for attaching the shoulder strap and securing the bag. You will need two 1″ D-rings with matching clasps for the handles and two 1 1/2″ D-rings with matching loop end clasps for the shoulder strap. Ensure that the loop end clasps are large enough to accommodate the shoulder strap if you won’t be upcycling them from another bag.
Velcro
Velcro is used to provide a secure closure for your garment bag. You will need 1/2 yard of 1 1/2″ wide sew-on Velcro. Cut it into two 7″ long pieces and attach them to the top of your bag front and back pieces.
Zippers
Zippers are crucial for easy access to your garments. You will need two 23″ separating zippers and one 36″ separating zipper. These zippers will be used to create the front opening and secure the bag.
Cutting the Fabric Pieces
Before you start sewing, you need to cut the fabric pieces according to the measurements provided. This will ensure that all components fit together perfectly. Here are the dimensions for each piece:
Main Part of the Bag
Cut two pieces measuring 35″ x 22″ from each fabric and batting. Round all of the corners to give your bag a professional finish.
Edges of the Bag
Cut two pieces measuring 70″ x 3″ from each fabric and batting. These pieces will be used to add structure to the edges of the bag.
Pockets
Cut two pieces measuring 13 1/2″ x 22″ from each fabric and batting. These pieces will serve as the pockets for your garment bag.
Front of the Bag
Cut one piece measuring 22″ x 3″ from each fabric and batting. This piece will be attached to the front of the bag and provide a decorative accent.
Read More: How to Make a Cinch Bag?
Hanger Flaps
Cut two pieces measuring 6″ x 3″ from each fabric and batting. These pieces will be used to create the hanger flaps, which will allow you to hang your bag.
Zipper Bias Tape
Cut two pieces from the exterior fabric measuring 7″ x 1 1/2″. These pieces will be used to create bias tape to cover the zipper.
Make sure to double-check your measurements and round the corners of each piece. This will give your garment bag a polished and professional look.

Sewing the Front Zipper
The front zipper of the garment bag allows easy access to your clothes. To sew the front zipper, follow these steps:
Gather one exterior fabric and batting piece and one interior fabric piece that measure 35″ x 22″. Place them right sides together, with the batting in the middle.
Measure 5″ in from the edge and cut both fabrics and batting. Then cut the remaining pieces in half lengthwise. These pieces will be used for the front portion of the bag.
Take one of the front pieces and gather your 36″ zipper. Layer the fabrics as follows: batting, exterior fabric (right side up), zipper (wrong side up), and interior fabric (wrong side up). Pin the zipper in place.
Sew along the zipper and the short side that does not have the rounded edge. Turn the piece right side out and iron it flat.
Repeat the process with the remaining front piece and the other side of the zipper. Ensure that the top of the zipper is on the same side as the previous piece.
Turn the piece right side out and iron it flat. Topstitch along the edges near the zipper to secure it in place.
By sewing the front zipper, you have created the opening for your garment bag. This will make it convenient to pack and unpack your clothes.
Binding the Top Curved Edges
To give your garment bag a polished and finished look, you will bind the top curved edges. Here’s how to do it:
Cut two strips of bias binding from the exterior fabric, each measuring 7″ x 1 1/2″. These strips will be used to cover the top curved edges of the bag.
Place one strip along the curve with the raw edges aligned. Pin or clip it in place, allowing it to extend 1/2″ past the zipper on the inside edge.
Sew the strip in place with a 1/4″ seam allowance. Flip the binding up and turn the piece over. Fold the 1/2″ edge over the zipper and fold the binding down on the front, enclosing the raw edges at the inside corner. Pin or clip it in place.
Sew the binding in place close to the fold, ensuring that it catches the edge of the zipper tape on the back.
Repeat these steps to bind the other curved edge at the top of the zipper. Take your time to ensure that the binding is secure and neatly sewn.
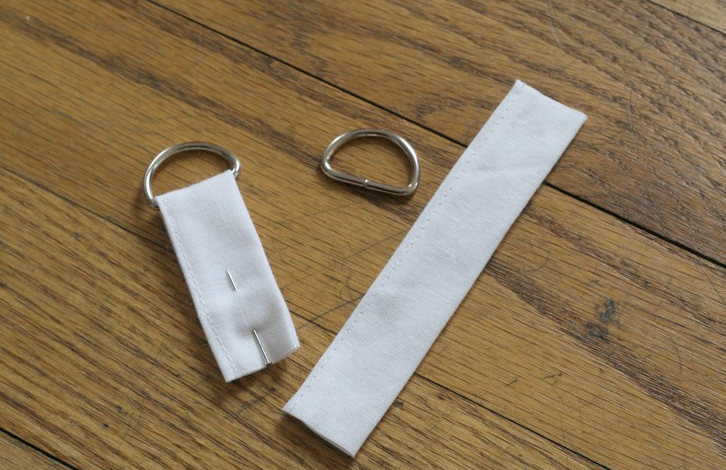
Attaching the Strap Tabs
The strap tabs will allow you to attach a shoulder strap to your garment bag. Here’s how to attach them:
Mark the center of your length of 45″ fabric, as well as the center of your pocket. Remember that the pocket will pass through the center of the loop when attached.
Measure down 10″ from the top of your length of fabric and pin the pocket square in place, aligning the center markings.
Sew along the sides and bottom of the pocket, ensuring that it is firmly attached. This will create a secure pocket for storing small items.
Take the hanger flaps and position them on the lining side of the back piece of the bag. Ensure that they are centered and aligned. Pin them in place.
Sew the hanger flaps to the back piece, making sure to stitch them securely.
By attaching the strap tabs, you have added practical features to your garment bag. These tabs will allow you to attach a shoulder strap for easy carrying.
Read More: How to Make A Quilt Bag
Preparing the Quilted Pieces
To provide structure and protection to your garment bag, you will create quilted pieces using fabric and batting. Follow these steps to prepare the quilted pieces:
Take the main fabric pieces that measure 35″ x 22″ and the corresponding batting pieces. Layer the fabric wrong side down against the batting, adhering them with spray-baste or machine basting around the edges.
Place the lining fabric with the wrong side against the opposite side of the batting. Adhere them with spray-baste or machine basting around the edges.
Repeat this process with the remaining fabric and batting pieces, creating fabric and stabilizer “sandwiches.” You should have two large pieces for the garment bag and one smaller piece for the pocket.
Use free motion or walking foot quilting to quilt all over the three large fabric and stabilizer pieces. This will provide stability and durability to your garment bag.
After quilting, cut the pieces according to the measurements provided. Trim the sides if necessary, ensuring that the dimensions match the back and front pieces of the bag.
By preparing the quilted pieces, you have added structure and protection to your garment bag. This will help keep your clothes safe during travel.
Conclusion
Congratulations! You have completed the major sections of creating a garment bag. From choosing the right fabrics to sewing zippers and adding functional features, you have learned the step-by-step process of making a practical and stylish garment bag. Whether you’re a frequent traveler or want a stylish storage solution for your clothes, this garment bag will meet your needs.
Remember to personalize your garment bag with embellishments and decorative details to make it truly unique. Add pockets, labels, or embroidery to make it your own. The possibilities are endless!
We hope this comprehensive guide has been helpful in assisting you in creating your own garment bag. If you have any questions or need further assistance, feel free to reach out to us. Happy sewing!