How to Make A Quilt Bag | Step-by-Step Tutorial
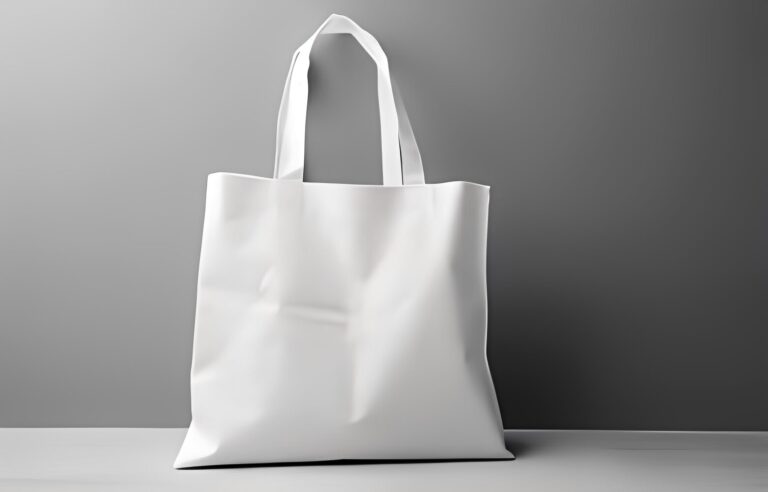
If you’re looking for a fun and practical sewing project, making a quilted tote bag is a great option. A quilted tote bag is not only stylish but also functional, providing plenty of space for all your essentials. Whether you’re a beginner or an experienced quilter, this step-by-step tutorial will guide you through the process of How to Make A Quilt Bag.
A quilted tote bag is not only a practical accessory but also a great way to showcase your quilting skills. It can be used for everyday errands, trips to the beach, or even as a stylish work bag. In this tutorial, we will walk you through the process of making a quilted tote bag from start to finish.
Gathering Your Supplies | How to Make A Quilt Bag
Before you begin, make sure you have all the necessary supplies on hand. Here’s a list of what you’ll need:
Quilt blocks or a quilt top: Choose blocks or a quilt top that you love and want to showcase on your tote bag.Lining fabric: Select a fabric that complements the colors and design of your quilt blocks.
Batting: You’ll need batting to give your tote bag structure and durability. Coordinating thread: Choose a thread color that matches or complements your quilt blocks and lining fabric.
Sewing machine: Make sure your sewing machine is in good working condition. Scissors: Sharp scissors are essential for cutting fabric and thread.
Rotary cutter and cutting mat: These tools will make cutting fabric much easier and more precise.Ruler: An acrylic ruler will help you measure and cut fabric accurately.
Pins or clips: Use pins or clips to hold fabric pieces together while sewing. Iron and ironing board: Pressing your fabric and seams is crucial for achieving neat and professional-looking results.
Read More: How to Make a Bag Handle
Choosing the Right Quilt
When making a quilted tote bag, you have the freedom to choose any quilt blocks or quilt top that you like. Consider the following factors when selecting your quilt:
- Size: Make sure your quilt blocks or quilt top are large enough to accommodate the desired dimensions of your tote bag.
- Design: Look for quilt blocks or a quilt top with a design that you love and that will work well on a tote bag.
- Color scheme: Consider the colors used in your quilt blocks or quilt top and how they will coordinate with the lining fabric and other elements of your tote bag.
Cutting the Pieces
To begin making your quilted tote bag, you’ll need to cut the necessary fabric pieces. Follow these steps:
Measure and cut two rectangles from your quilt blocks or quilt top to serve as the front and back panels of your tote bag. Ensure that the dimensions of these panels are suitable for the size of bag you want to create.
Cut two rectangles from the lining fabric, using the same dimensions as the front and back panels.
Cut two pieces of batting or fusible fleece slightly smaller than the dimensions of your front and back panels.
Cut two long strips of fabric for the handles. The length and width of these strips can be adjusted based on your personal preference and the desired functionality of the tote bag.
Creating the Quilted Panels
To give your tote bag a quilted look, you’ll need to create quilted panels. Follow these steps:
- Layer one of the front panels, one piece of batting or fusible fleece, and the corresponding lining panel on top of each other. Pin or clip the layers together to hold them in place.
- Quilt the layers together using your preferred quilting technique. This could include straight lines, free-motion quilting, or any other design you prefer. Continue quilting until you are satisfied with the overall appearance.
- Repeat the quilting process for the back panel of your tote bag.
- Trim the quilted panels to ensure they are the same size and shape.
Constructing the Tote Bag
Now that you have your quilted panels, it’s time to assemble the tote bag. Follow these steps:
- Place the quilted front and back panels right sides together, aligning the edges. Pin or clip the sides and bottom edges together.
- Sew along the pinned edges, leaving the top edge open. Use a 1/4-inch seam allowance and backstitch at the beginning and end of the seams.
- Repeat the same process for the lining panels, making sure to leave a small opening on one side for turning the bag right side out later.
- Trim the excess fabric and batting from the corners of both the exterior and lining panels. This will reduce bulk and help create crisp corners when the bag is turned right side out.
- Turn the exterior of the bag right side out and slip it inside the lining, aligning the side seams. The right sides of the exterior and lining should be facing each other.
- Pin or clip the top edges of the bag together, making sure to match the side seams.
- Sew along the pinned edges, using a 1/4-inch seam allowance. Leave a small opening for turning the bag right side out.
- Carefully turn the bag right side out through the opening in the lining.
- Press the top edge of the bag, making sure it lies flat and the seams are neatly pressed.
Adding the Straps
To complete your quilted tote bag, you’ll need to add straps. Follow these steps:
- Cut two long strips of fabric for the straps. The width and length of the straps can vary depending on your preference and the desired functionality of the bag.
- Fold each strap in half lengthwise, with the right sides facing each other. Sew along the long edge using a 1/4-inch seam allowance.
- Turn the straps right side out, and press them flat. Topstitch along both long edges of each strap for added durability and a finished look.
- Attach the straps to the bag by sewing them securely to the top edge. Position the straps evenly on each side of the bag, making sure they are aligned and facing the same direction.
Read More: How to Make a Strap for a Bag
Finishing Touches
To give your quilted tote bag a polished and professional look, consider adding a few finishing touches. Here are some ideas:
Topstitch around the top edge of the bag to reinforce the seams and add a decorative detail. Add a closure, such as a magnetic snap or a zipper, to keep your belongings secure.
Embellish the bag with decorative buttons, fabric flowers, or appliqué for a personalized touch. Consider adding pockets to the interior or exterior of the bag for added functionality. Experiment with different quilting techniques and patterns to create unique designs on your tote bag.
FAQs
Can I make a quilted tote bag without quilting the panels?
How can I adjust the size of the tote bag?
Can I use pre-quilted fabric for the panels?
How can I care for my quilted tote bag?
Conclusion
Creating your own quilted tote bag is a satisfying and enjoyable sewing project. With a few supplies and some basic sewing skills, you can make a stylish and functional bag that reflects your personal style. Whether you’re a beginner or an experienced quilter, this step-by-step tutorial has guided you through the process of making your very own quilted tote bag. So gather your supplies, choose your favorite quilt blocks or quilt top, and start sewing your unique tote bag today!