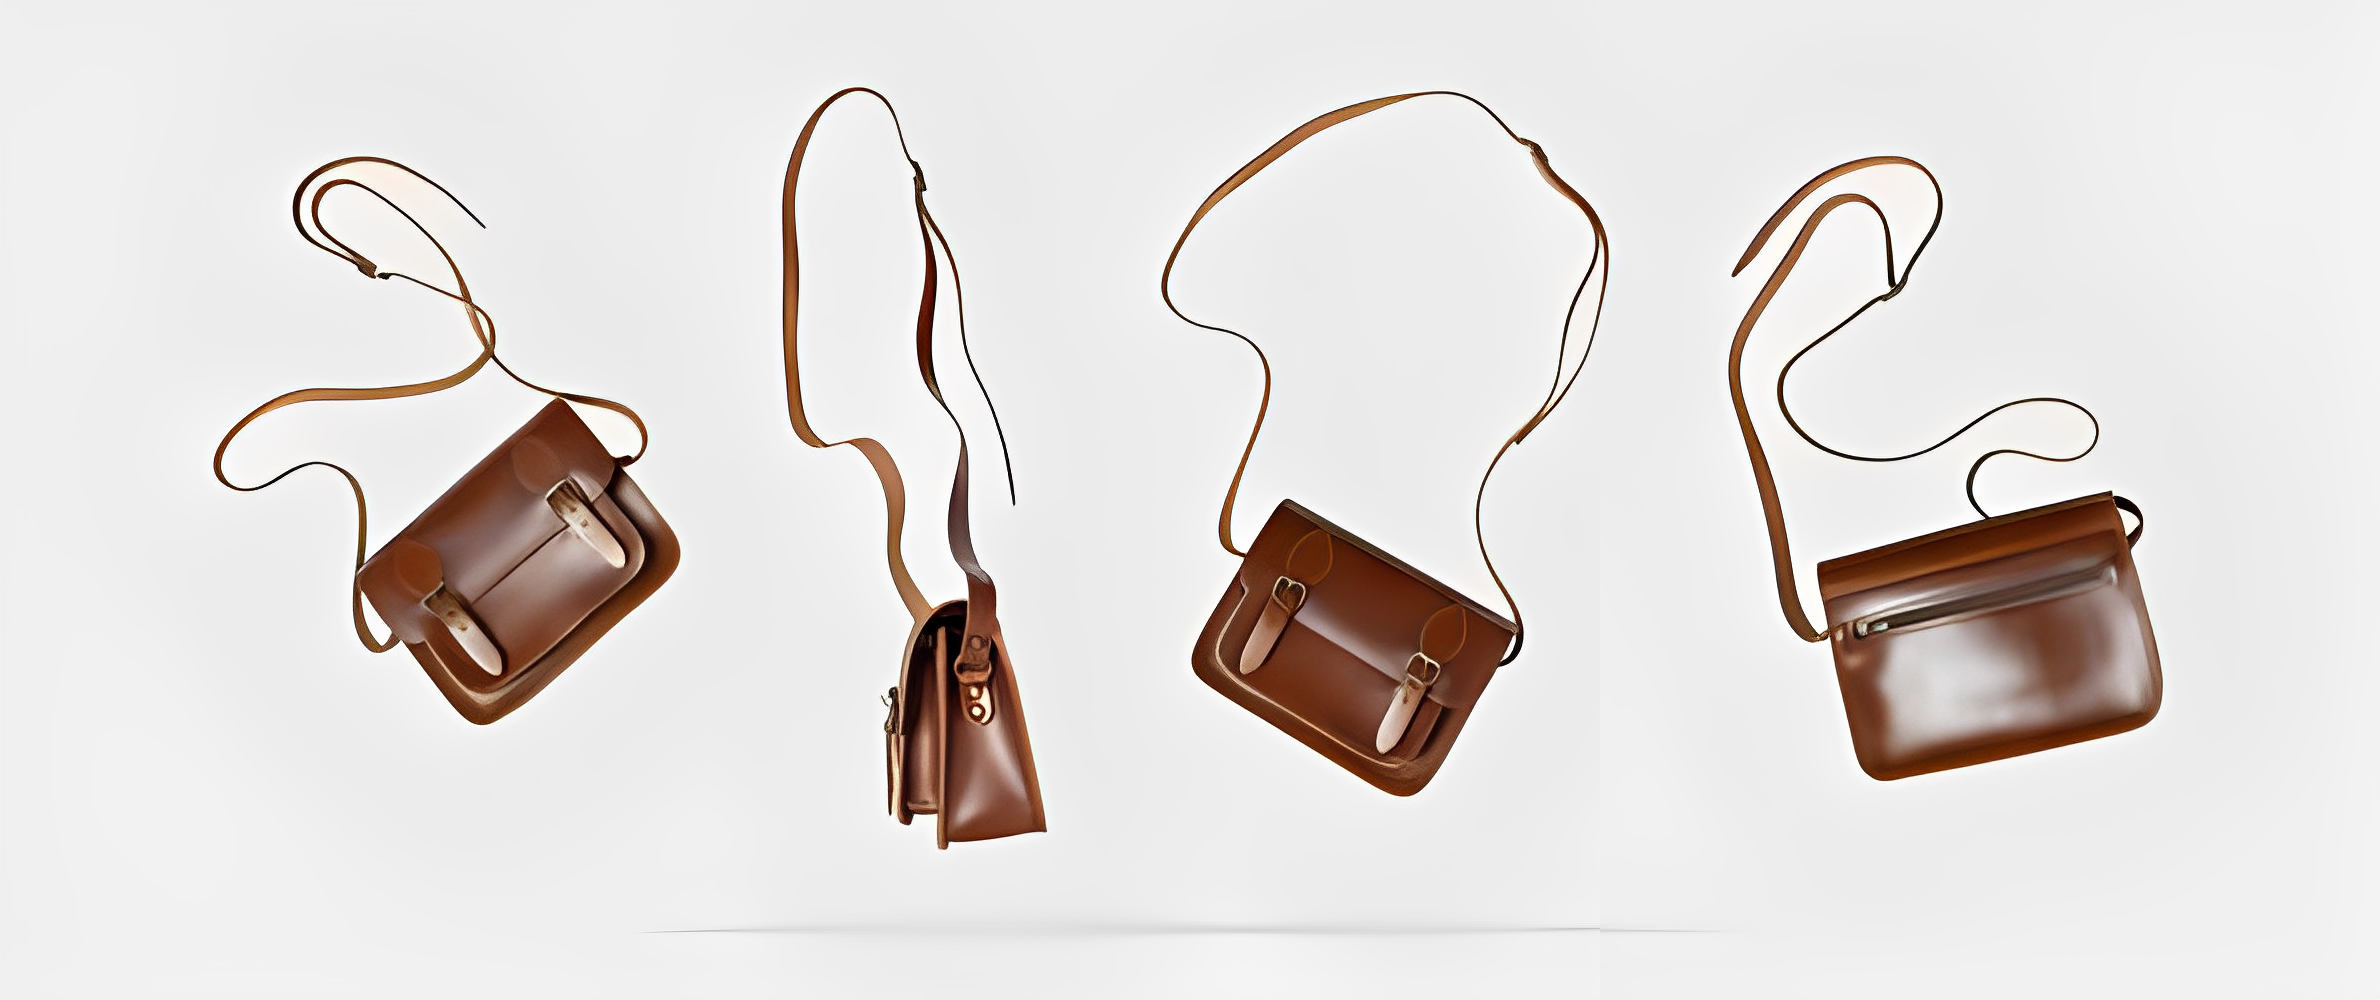
How to Make a Strap for a Bag: A Step-by-Step Guide
Are you tired of boring bag straps that lack personality? Do you want to add a touch of creativity and customization to your bags? Look no further! In this comprehensive guide, we will walk you through the process of How to Make a Strap for a Bag. Whether you’re a beginner or an experienced sewist, you’ll be able to follow along and create unique and stylish straps that perfectly match your bags. So grab your sewing machine and let’s get started!
Bag straps are an essential component of any bag, providing both functionality and style. However, store-bought straps may not always meet your preferences or match the overall aesthetic of your bags. That’s where making your own adjustable straps comes in handy. Not only can you choose the perfect width and design, but you can also add your personal touch to make your bags truly unique.
Materials Needed to Make a Strap for a Bag
Before we dive into the process, let’s gather the materials you’ll need to make your own bag straps:
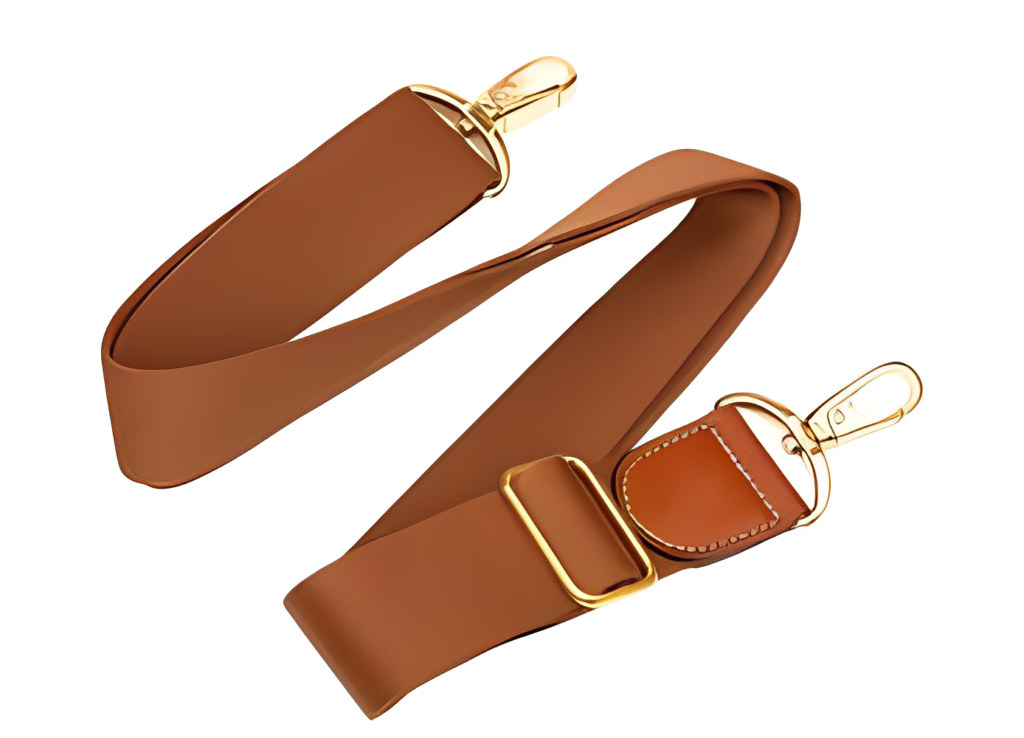
- Webbing: Choose a high-quality webbing in the width recommended by your pattern. Common widths include 1 1/2″ and 1″.
- Hardware: Depending on whether you want a non-removable or detachable strap, you’ll need either rectangle rings or D-rings along with swivel clips. Ensure that the width of your hardware matches your webbing.
- Fabric Trim (Optional): If you want to add a decorative fabric trim to your strap, select a fabric that complements your bag. Cut a strip of fabric that matches the width of your webbing and is 3″ longer than needed.
- Fray Stopper or Clear Drying Glue: To prevent the webbing from fraying, treat the ends with fray stopper or clear drying glue.
Now that you have all the necessary materials, let’s move on to the next step.
Read More: How to Make a Waterproof Bag
Choosing the Right Width
The width of your strap plays a crucial role in its functionality and overall look. Refer to your pattern for the recommended width, or choose a width that suits your personal preference. Common widths range from 1″ to 1 1/2″. Consider the size and weight of your bag when making your decision. Thicker and heavier bags may require wider straps for added support and comfort.
Adding a Fabric Trim (Optional)
If you want to add a fabric trim to your strap, follow these simple steps:
- Cut a fabric strip that matches the width of your webbing and is 3″ longer than needed.
- Fold the sides of the fabric strip to the wrong side by 1/4″ and press them well.
- Use double-sided tape to secure the fabric strip down the center of your webbing strap.
- Topstitch along the fabric strip, ensuring that your thread matches the fabric on top and the bobbin thread matches the webbing.
The fabric trim adds a touch of elegance and allows you to coordinate your strap with your bag’s design. If you prefer not to use a fabric trim, simply ignore this step and proceed with the webbing alone.
Treating the Ends of the Strap
Before we start folding and attaching the hardware, it’s important to treat the ends of the strap to prevent fraying. Apply fray stopper or clear drying glue to both ends of the webbing, following the instructions on the product. Once dry, trim any excess bits to ensure a clean finish.
Attaching the Bag Slider
Now it’s time to attach the bag slider to one end of your strap. Fold the end of the strap over the middle bar of the bag slider, matching the width of the webbing. For example, if your webbing is 1 1/2″ wide, fold the strap over by 1 1/2″. If you have opted for a fabric trim, fold it over the treated end of the webbing and secure it in place with glue or double-sided tape.
Next, sew the folded end of the strap onto the middle bar of the bag slider. You can choose to sew it by hand or with a sewing machine, ensuring a secure and neat attachment.
Folding the Strap
Now comes the fun part – folding the strap! Lay the bag slider flat with the folded end facing up and the slider face down. Take the free end of the strap and thread it through either the rectangle ring or swivel clip on the right-hand side. Then, bring it back through the bag slider, passing it under the first bar, over the middle bar, and under the second bar.
Tighten the strap to secure it in place, making sure that the raw edge is hidden within the folds of the strap. This technique creates an adjustable strap that can be lengthened or shortened as needed.
Attaching Rectangle Rings or Swivel Clips
Now it’s time to attach the rectangle rings or swivel clips to the free end of your strap. If you’re using rectangle rings, they should already be attached to the bag by tabs, according to your pattern’s instructions. For swivel clips, they will not be attached to anything initially.
Take the free end of the strap and thread it through the rectangle ring or swivel clip on the left-hand side. Fold the end over, just as you did when starting with the middle bar of the bag slider. Sew the folded end onto the ring or clip, ensuring a secure attachment.
Checking the Fold-overs
To ensure that your fold-overs are positioned correctly, check that the last fold is towards the plain side of the webbing, or on the same side as the underside of the bag slider. This ensures that the finished strap looks neat and professional, with all the fold-overs hidden on the inside when the bag is in use.
Stitching the Ends
With all the folding and attaching complete, it’s time to secure the ends of your strap. Stitch both ends of the strap to ensure that everything stays in place. You can use a sewing machine or hand stitch, depending on your preference.
Read More: How to Make a Leather Bag
Ideas for Customizing Your Straps
Now that you know how to make adjustable straps for your bags, it’s time to unleash your creativity and personalize them to your liking. Here are a few ideas to get you started:
- Iron-on Vinyl: Use iron-on vinyl to add quotes, patterns, or designs to your straps. Cut out the desired shapes using a cutting machine and adhere them to the fabric trim or directly onto the webbing.
- Fabric Paint: Get creative with fabric paint by adding hand-painted designs, patterns, or even your favorite artwork to the strap. Use fabric paint brushes to achieve precise and vibrant designs.
- Embellishments: Add extra flair to your straps with embellishments like gems, beads, or studs. Glue them onto the fab
ric trim or directly onto the webbing for a touch of sparkle and dimension.
Remember, the possibilities are endless when it comes to customizing your straps. Let your imagination run wild and create straps that truly reflect your personal style.
Frequently Asked Questions
Can I adjust the length of the strap after it’s attached to the bag?
Can I use different materials for the webbing?
Can I make the strap wider or narrower than the recommended width?
How do I care for bags with fabric trim on the straps?
Conclusion
Congratulations! You have successfully learned how to make adjustable straps for your bags. By following the step-by-step guide and incorporating your personal touch, you can create straps that not only provide functionality but also showcase your creativity and style. So go ahead, gather your materials, and start making straps that perfectly complement your bags. Get ready to turn heads with your unique and customized creations!