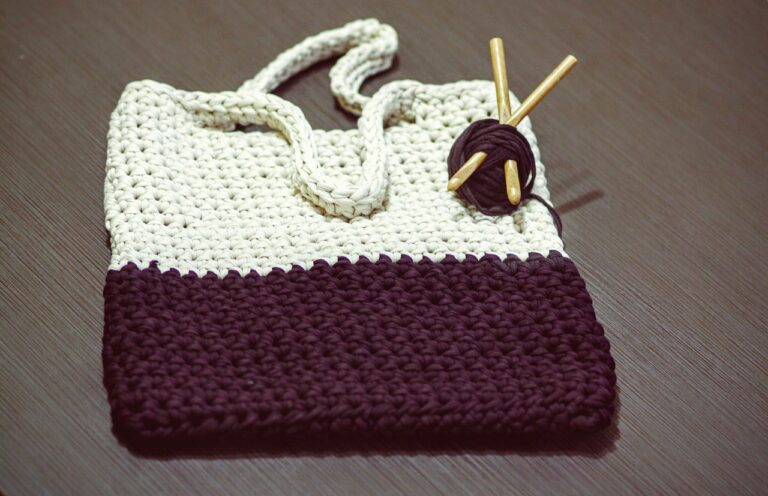
How to Make Beach Bags: A Comprehensive Guide
Are you planning a beach vacation and in need of the perfect beach bag to carry all your essentials? Look no further! In this comprehensive guide, we will walk you through the step-by-step process of making your own beach bag. Whether you’re a beginner or an experienced sewer, this project is both fun and practical. With customizable options, you can create a beach bag that suits your style and needs. Get ready to hit the beach in style with your very own handmade bag!
Materials Needed For Beach Bags
Before we dive into the process, let’s gather the materials you’ll need for this project. Here’s a list of the essential supplies:
- 2 yards of durable fabric for the main panels (such as canvas or outdoor fabric)
- 2 yards of lining fabric (choose a lightweight fabric that complements the main fabric)
- Dritz Loop Turner (for turning straps)
- Pins or clips for securing fabric
- Thread in matching colors
- Scissors for cutting fabric
- Ruler for precise measurements
- Sewing machine for stitching the bag
Step 1: Cutting out the Fabric
The first step in making your beach bag is cutting out the fabric pieces. Using the template provided, cut out two 18″ x 23″ panels from the main fabric for the exterior of the bag. Repeat this step with the lining fabric to create the lining panels. Additionally, cut out two 18″ x 8″ rectangles from both the main and lining fabrics for the side panels. For the bottom panel, cut out a 23″ x 8″ piece from the main fabric or use vinyl fabric to protect it from water. Lastly, cut two 8″ x 16″ rectangles from the main fabric for the straps.
Read More: How Much is a 10kg Bag
Step 2: Creating the Straps
To make the straps, fold each 8″ x 16″ rectangle in half lengthwise with right sides facing each other. Sew along the non-folded edge to create a tube. Use a loop turner to flip the tube right side out. Press the straps with the fold in the middle of the tube. Top stitch along both sides of each strap for added durability.
Step 3: Preparing the Fabric Edges
Before assembling the bag, it’s essential to prepare the fabric edges for a clean finish. Take the long edges of the main and lining fabric panels for the side panels and iron them in ¼” to hide the raw edges. If necessary, pin the edges down to ensure they stay in place during sewing.
Step 4: Sewing the Exterior Panels
Begin by sewing the exterior panels together. Take the two main panels for the exterior and align them with right sides facing each other. Clip or pin the edges together. Sew both edges using a 1/2″ seam allowance, leaving a half-inch unsewn at the bottom where the bottom panel will be attached. Repeat this step with the lining panels for the interior of the bag but leave a 6″ gap in one side for turning the bag right side out later.
Step 5: Attaching the Bottom Panel
Attach the bottom panel to the main panels of the bag. Peel back the extra half-inch left at each bottom seam to expose the raw edges. Match up the bottom panel with the main panels and side panels, creating a three-way sandwich. Sew the bottom panel to each side, stopping and turning at the place where the three pieces meet. It may be easier to sew four separate lines to ensure a secure attachment.
Step 6: Adding Pockets
Enhance the functionality of your beach bag by adding pockets to the interior. Begin by sewing the side pockets onto the lining fabric. Fold the 8″ x 22″ pocket panel in half vertically with wrong sides facing each other. Top stitch along the top edge to create a tall “sunscreen pocket.” For the smaller pocket, fold the 10″ x 18″ pocket panel in half. Sew a gusset (tunnel) along the top edge, leaving room for elastic to thread through. Thread elastic through the gusset to create a secure pocket.
Step 7: Assembling the Interior
With the pockets in place, assemble the interior of the bag. Sew up each vertical edge of the lining panels, ensuring a half-inch unsewn at the bottom where the bottom panel will be attached. Make sure to leave the 6″ gap open for turning the bag later. This results in a bottomless box-like structure.
Step 8: Attaching the Straps and Interior
Join the lining to the exterior of the bag to complete the assembly. Keep the exterior inside out and turn the lining right side out. Pull the exterior around the lining, aligning all four corners and pinning them in place. To attach the straps, find the center point of one of the main panels. Measure out 3″ on each side of the center, creating a 6″ gap. Line up the edges of the straps with the 6″ marks, ensuring the right sides of the straps and the exterior of the bag are facing each other. Pin the straps in place. Repeat this step with the other strap and main panel.
Step 9: Sewing the Bag Together
Sew around the entire top perimeter of the bag, securing the straps and joining the lining and exterior fabrics. Double or triple stitch over the straps for added strength. Turn the bag right side in by pulling it through the 6″ gap in the lining bottom. Sew the gap closed, ensuring a neat finish. Finally, top stitch around the entire top perimeter of the bag for a polished look.
Read More: How Much is the Hermès 24/24 Bag
Step 10: Finishing Touches
Congratulations! You’ve completed your very own beach bag. Fill it with sunscreen, beach towels, magazines, and any other essentials you’ll need for a day at the beach. Enjoy the sun and surf with your stylish and functional handmade bag.
FAQ
Can I use different fabrics for the exterior and lining of the bag?
Can I add additional pockets to the bag?
Can I resize the bag to make it larger or smaller?
Conclusion
Making your own beach bag is a rewarding and practical project. By following the step-by-step instructions in this guide, you can create a personalized bag that reflects your style while being functional for a day at the beach. Remember to gather all the necessary materials, cut out the fabric pieces, assemble the bag, and add the finishing touches. Get ready to turn heads with your handmade beach bag and enjoy a fun-filled day by the water!