How to Repair a Leather Bag | Guide
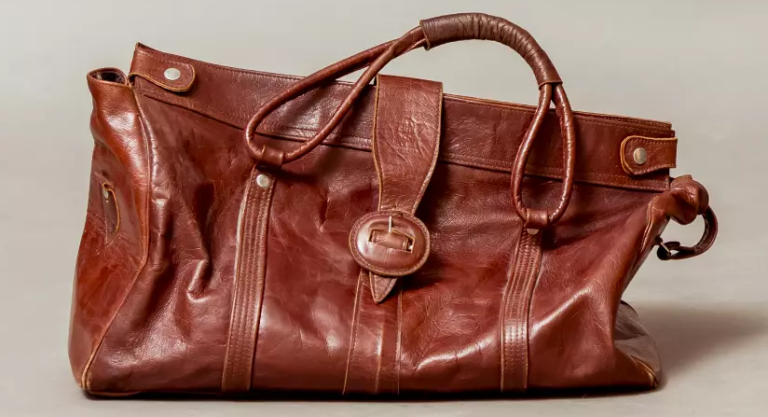
Leather bags are not only stylish and durable but also have the potential to age gracefully with proper care. However, accidents happen, and over time, wear and tear can take a toll on your beloved leather bag. Instead of discarding it and contributing to the growing landfill problem, why not learn How to Repair a Leather Bag and restore your leather bag?
In this comprehensive guide, we will walk you through the step-by-step process of repairing common leather bag issues, from small scratches and tears to restoring the bag’s original luster and color. By following these techniques, you can extend the lifespan of your leather bag and reduce waste, all while enjoying a beautifully restored accessory.
Assessing the Condition of Your Leather Bag
Before diving into the repair process, it’s crucial to assess the overall condition of your leather bag. Take a close look at the surface of the bag, checking for any scratches, tears, or discoloration. Inspect the stitching, handles, and straps for any signs of damage or weakness. By identifying the specific areas that require attention, you can plan and prioritize the repair process effectively.
Cleaning Your Leather Bag
Cleaning your leather bag is an essential step in the repair and restoration process. Start by gathering the necessary supplies, such as a soft cloth or sponge, a mild leather cleaner, warm water, and a leather conditioner. Avoid using harsh chemicals or household cleaners, as they can damage the leather.
To begin the cleaning process, dampen the soft cloth or sponge with warm water and gently wipe down the surface of the bag to remove any dirt or debris. Make sure not to saturate the leather; a damp cloth is sufficient. Next, apply a small amount of the mild leather cleaner onto the cloth and carefully clean any stains or marks on the bag. Use gentle circular motions and avoid rubbing too vigorously. Once the bag is clean, rinse the cloth and wipe away any excess cleaner from the surface. Finally, allow the bag to air dry completely before proceeding to the next step.
Related: How to Remove Smell from Leather Bag
Repairing Small Scratches and Scuffs
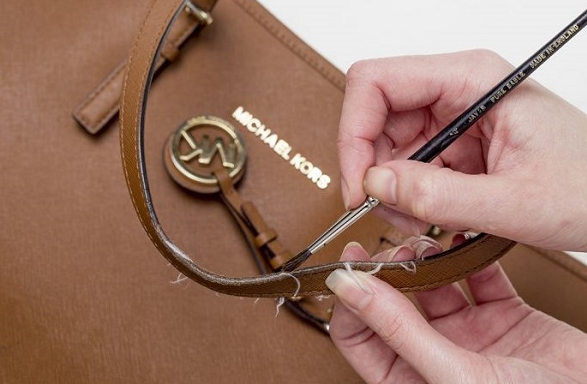
Small scratches and scuffs are inevitable on leather bags, but they can be easily repaired with a few simple steps. To begin, clean the scratched area using a mild leather cleaner as described in the previous section. This will ensure that the surface is free from any dirt or debris that could interfere with the repair process.
After cleaning, assess the severity of the scratch. For minor surface scratches, you can often buff them out using a soft cloth or a leather conditioner and a bit of elbow grease. Apply a small amount of the leather conditioner to the cloth and gently rub it over the scratched area in circular motions. This will help to moisturize and blend the scratch with the surrounding leather.
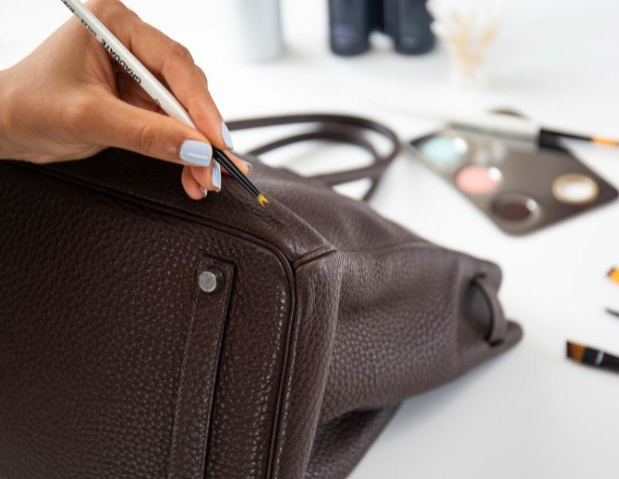
For deeper scratches or scuffs, you may need to use a leather repair kit. These kits typically include a color-matching solution, a filler, and a sealant. Start by applying a small amount of the color-matching solution to a clean cloth and gently dab it onto the scratched area. Allow it to dry according to the manufacturer’s instructions. Next, use the filler to fill in the scratch, following the kit’s instructions. Once the filler is dry, apply the sealant to protect the repaired area. Remember to blend the color-matching solution with the surrounding leather for a seamless finish.
Patching and Repairing Tears
Tears in leather bags can be disheartening, but with the right tools and techniques, they can be repaired effectively. If the tear is small or located in a less visible area, you may opt for a DIY approach. However, for larger or more prominent tears, it is recommended to seek professional help from a leather repair specialist.
For smaller tears, start by cleaning the torn area as described earlier. Next, apply a leather glue or adhesive designed for repairing tears to the edges of the tear. Gently press the edges together to ensure a secure bond. Allow the glue to dry completely before using the bag. For added reinforcement, you can sew the edges of the tear using a needle and thread that matches the color of the leather. This will provide additional strength and durability to the repaired area.
For larger tears or areas that require professional attention, it is best to consult a leather repair specialist. They have the expertise and tools necessary to repair and reinforce the damaged area, ensuring a long-lasting repair.
Restoring the Color of Faded Leather Bags
Over time, leather bags may fade or lose their original color due to exposure to sunlight, wear, and other factors. Restoring the color of a faded leather bag can breathe new life into it. Before attempting to restore the color, clean the bag thoroughly using the cleaning process mentioned earlier. This will ensure that the surface is free from any dirt or debris that could affect the color restoration process.
Once the bag is clean and dry, you can use a leather dye or color restorer specifically formulated for your bag’s type of leather. Follow the manufacturer’s instructions and test the dye on a small, inconspicuous area of the bag first to ensure a satisfactory result. Apply the dye evenly to the entire bag or just the faded areas, using a clean cloth or a sponge. Allow the dye to dry completely before applying a leather conditioner to moisturize and protect the newly restored color. Remember to follow the manufacturer’s instructions for drying times and any additional steps, such as sealing the color with a leather protector.
Conditioning and Moisturizing Your Leather Bag
Regular conditioning and moisturizing are essential for maintaining the suppleness and longevity of your leather bag. Leather is a natural material that requires hydration to prevent drying, cracking, and stiffness. Conditioning your bag not only restores its natural oils but also enhances its overall appearance.
To begin the conditioning process, ensure that your bag is clean and dry. Apply a small amount of leather conditioner to a soft cloth and gently rub it onto the surface of the bag. Use circular motions and focus on areas that tend to dry out more quickly, such as the handles and corners. Allow the conditioner to penetrate the leather for a few minutes, then use a clean cloth to wipe away any excess. Conditioning your bag regularly, approximately every six months or as needed, will help maintain its softness and prevent it from drying out.
Preventative Measures and Maintenance
Taking preventative measures and practicing regular maintenance can significantly extend the lifespan of your leather bag. Here are some tips to keep your bag in excellent condition:
Avoid exposing your bag to direct sunlight for prolonged periods, as this can cause fading and drying. Store your bag in a cool, dry place when not in use, preferably in a dust bag or pillowcase to protect it from dust and humidity.
Avoid placing your bag on rough or abrasive surfaces to prevent scratches and scuffs. Use a leather protectant spray with UV protection to shield your bag from harmful rays and environmental damage.
Handle your bag with clean hands to avoid transferring dirt, oil, or sweat onto the leather. Avoid overstuffing your bag, as this can distort its shape and strain the seams.
By following these preventative measures and practicing regular maintenance, you can prolong the life of your leather bag and minimize the need for extensive repairs.
Frequently Asked Questions (FAQs)
Can I repair tears or scratches on suede or nubuck leather bags?
What if my leather bag has a strong odor?
Can I use household products like vinegar or olive oil to clean or condition my leather bag?
How often should I condition my leather bag?
Can I repair a leather bag with peeling issues?
Conclusion
Repairing and restoring a leather bag is a rewarding process that allows you to extend the lifespan of your beloved accessory. By following the step-by-step techniques outlined in this comprehensive guide, you can address common issues such as scratches, tears, and fading.
Regular maintenance and preventative measures will help keep your leather bag in excellent condition for years to come. Remember that while DIY repairs are suitable for minor issues, it is always wise to consult a professional leather repair specialist for more extensive damage.
With proper care and attention, your leather bag will continue to be a stylish and functional companion on your journeys. So, embrace the freedom of repairing and restoring your leather bag, and contribute to a more sustainable and eco-friendly lifestyle.